WhatsApp Business Calling API
You can connect a WhatsApp Business phone number to your Voximplant application to use it in your calls.
This article has a video guide. You can learn how to create a WhatsApp developer account and how to set up both sides for answering WhatsApp calls with Voximplant.
How to connect
WhatsApp Cloud API side
If you have not used any WhatsApp phone numbers with WhatsApp Cloud API yet, add the phone number you are going to use in the WhatsApp Manager by clicking the Add phone number button:
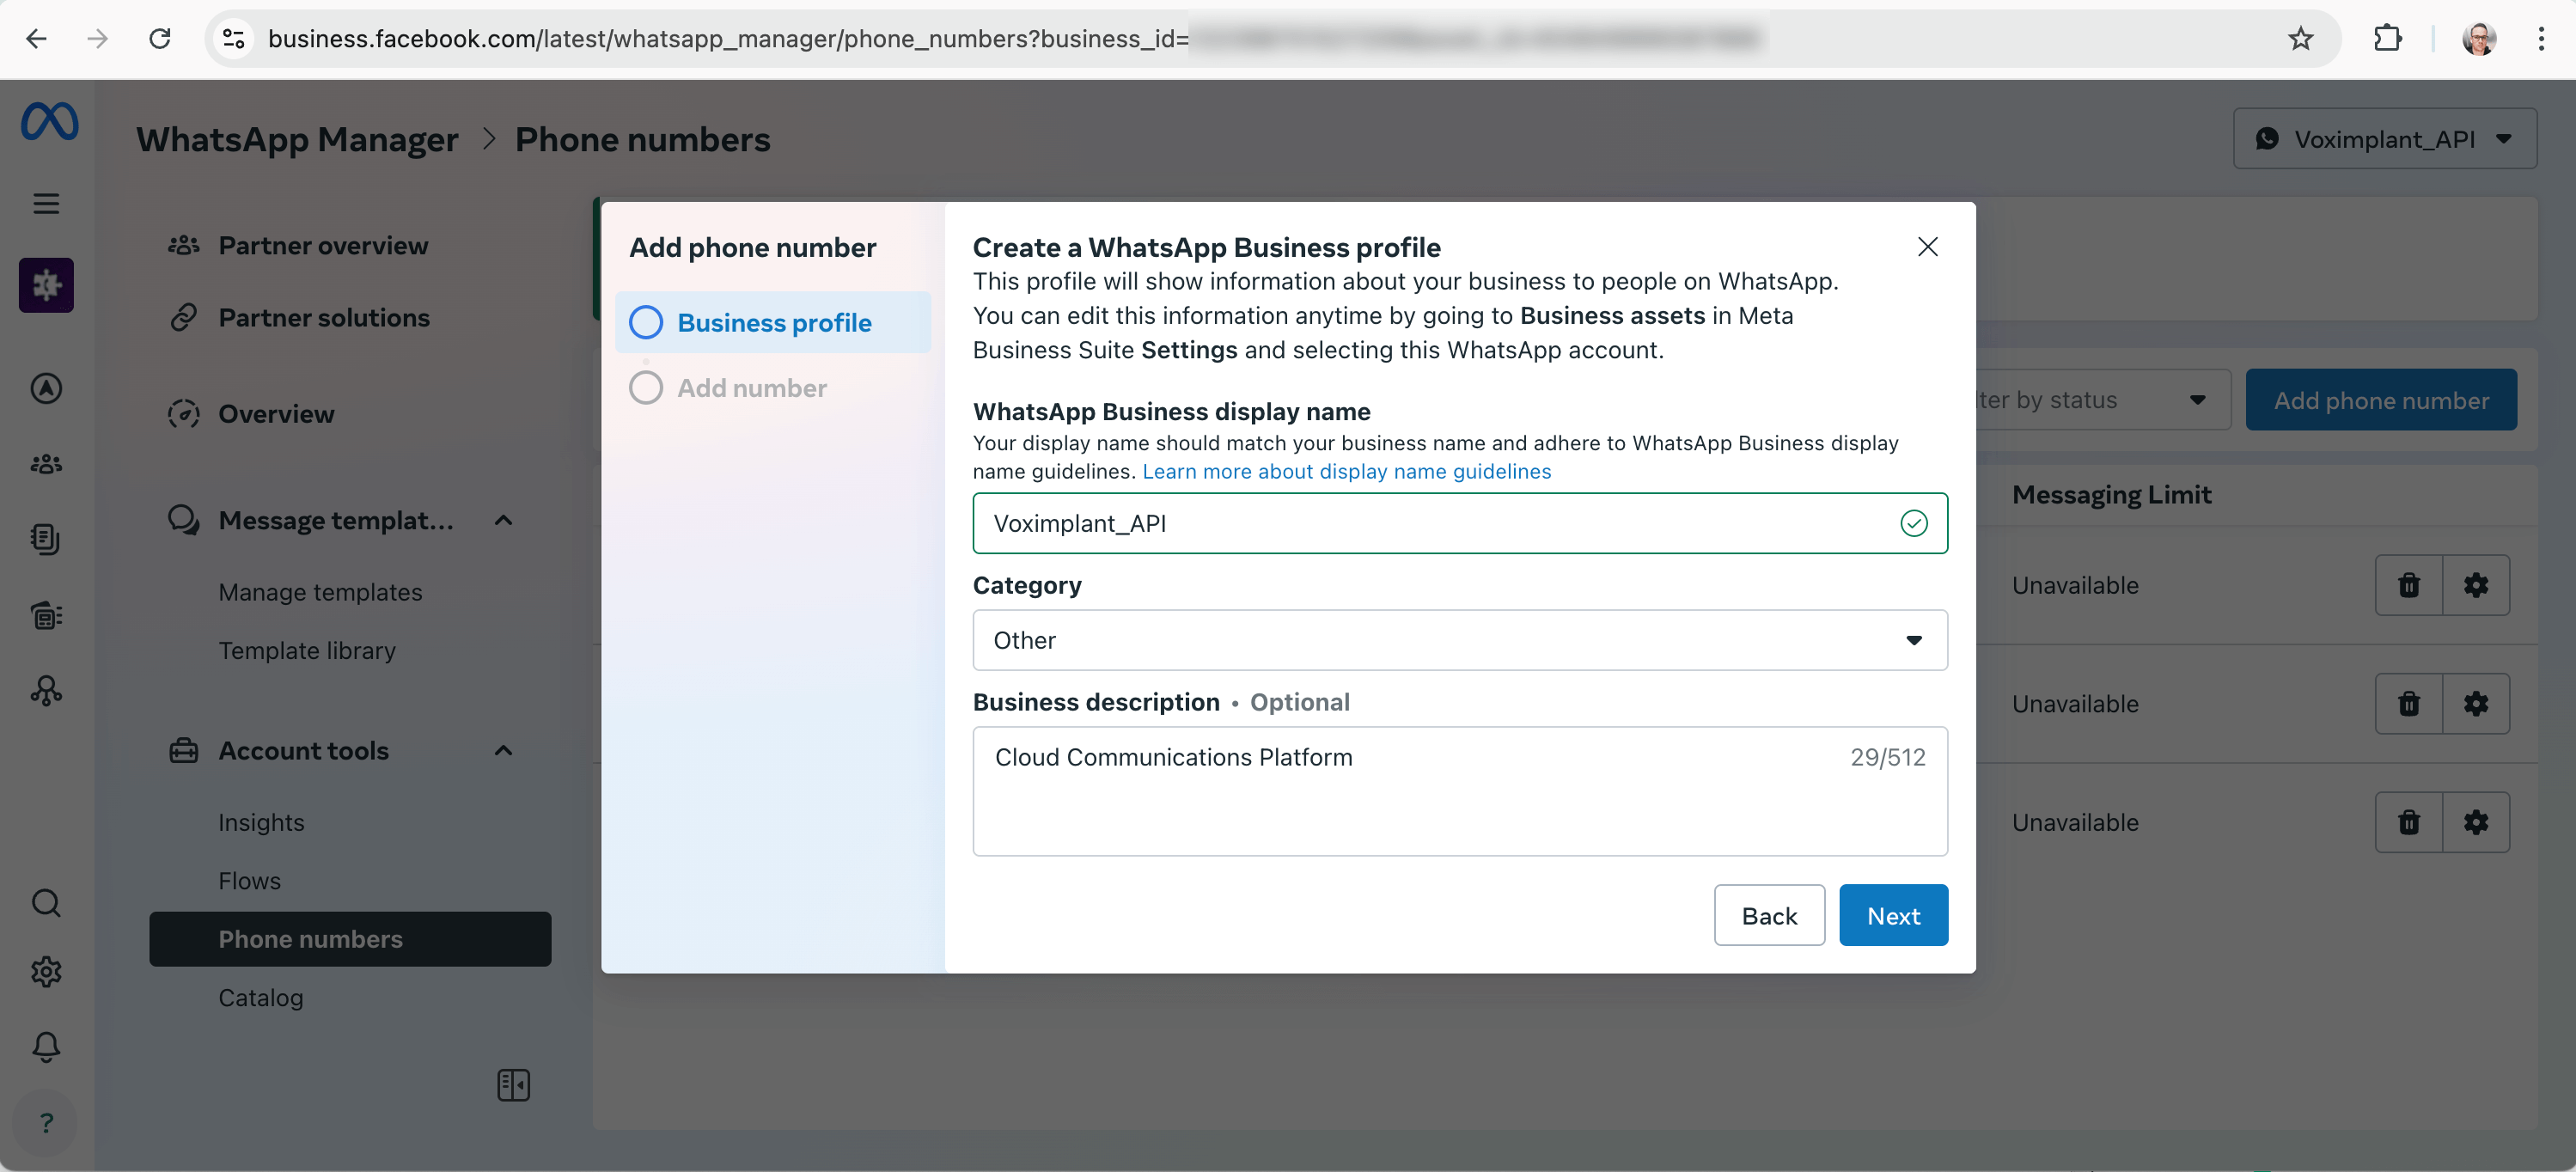
Specify the phone number after filling the Business Profile form:
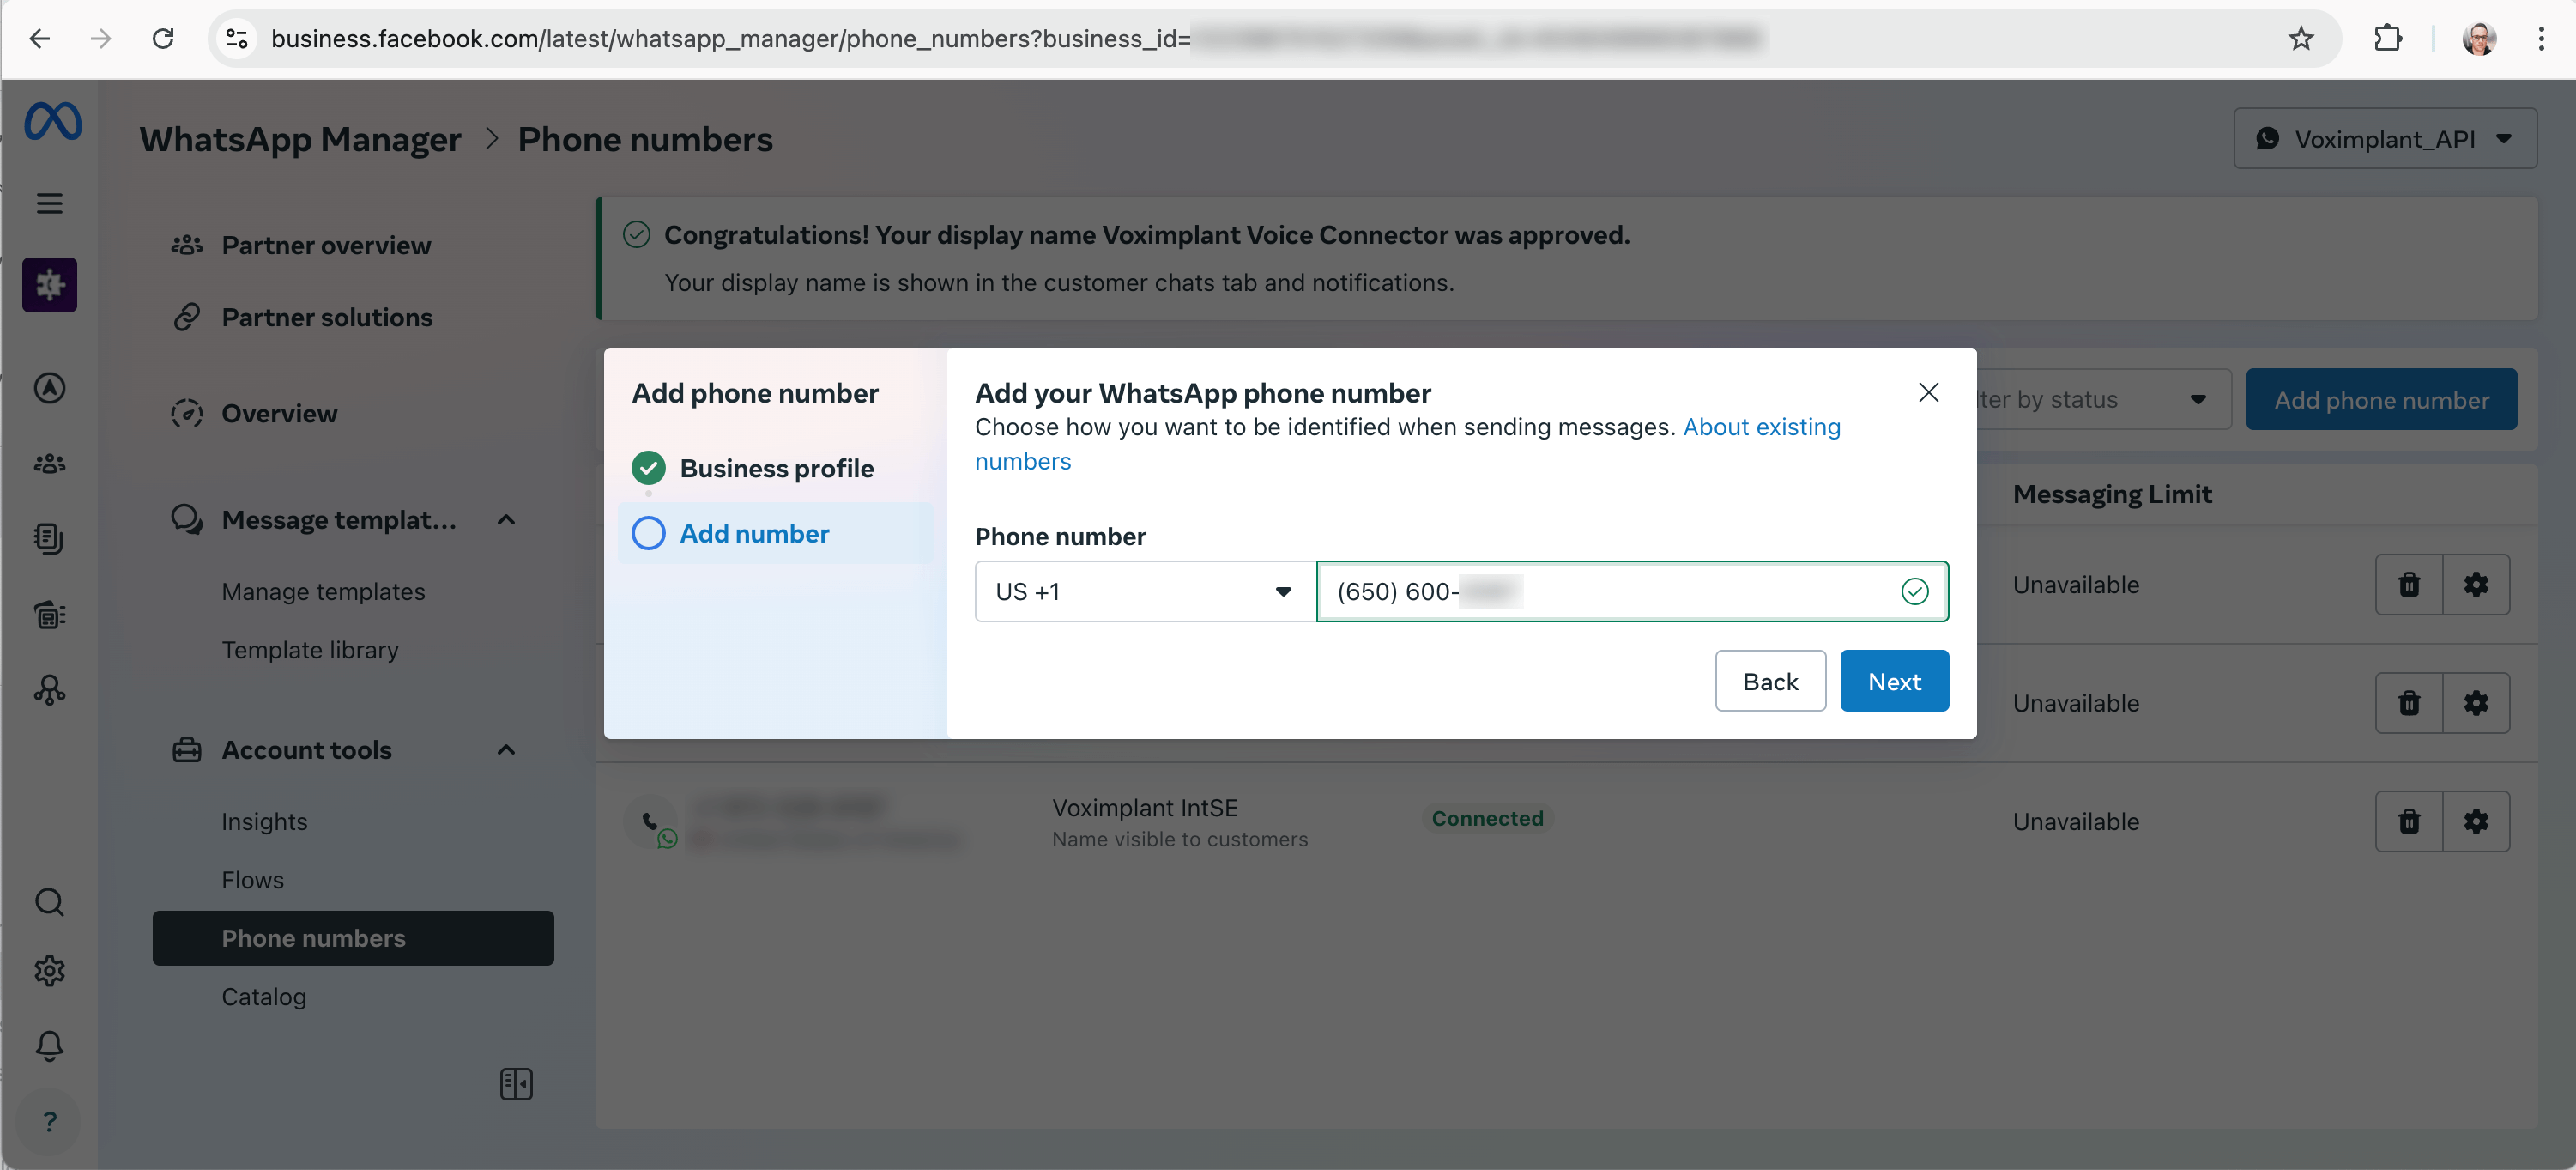
After you fill the form with the required data, you need to process with verification:
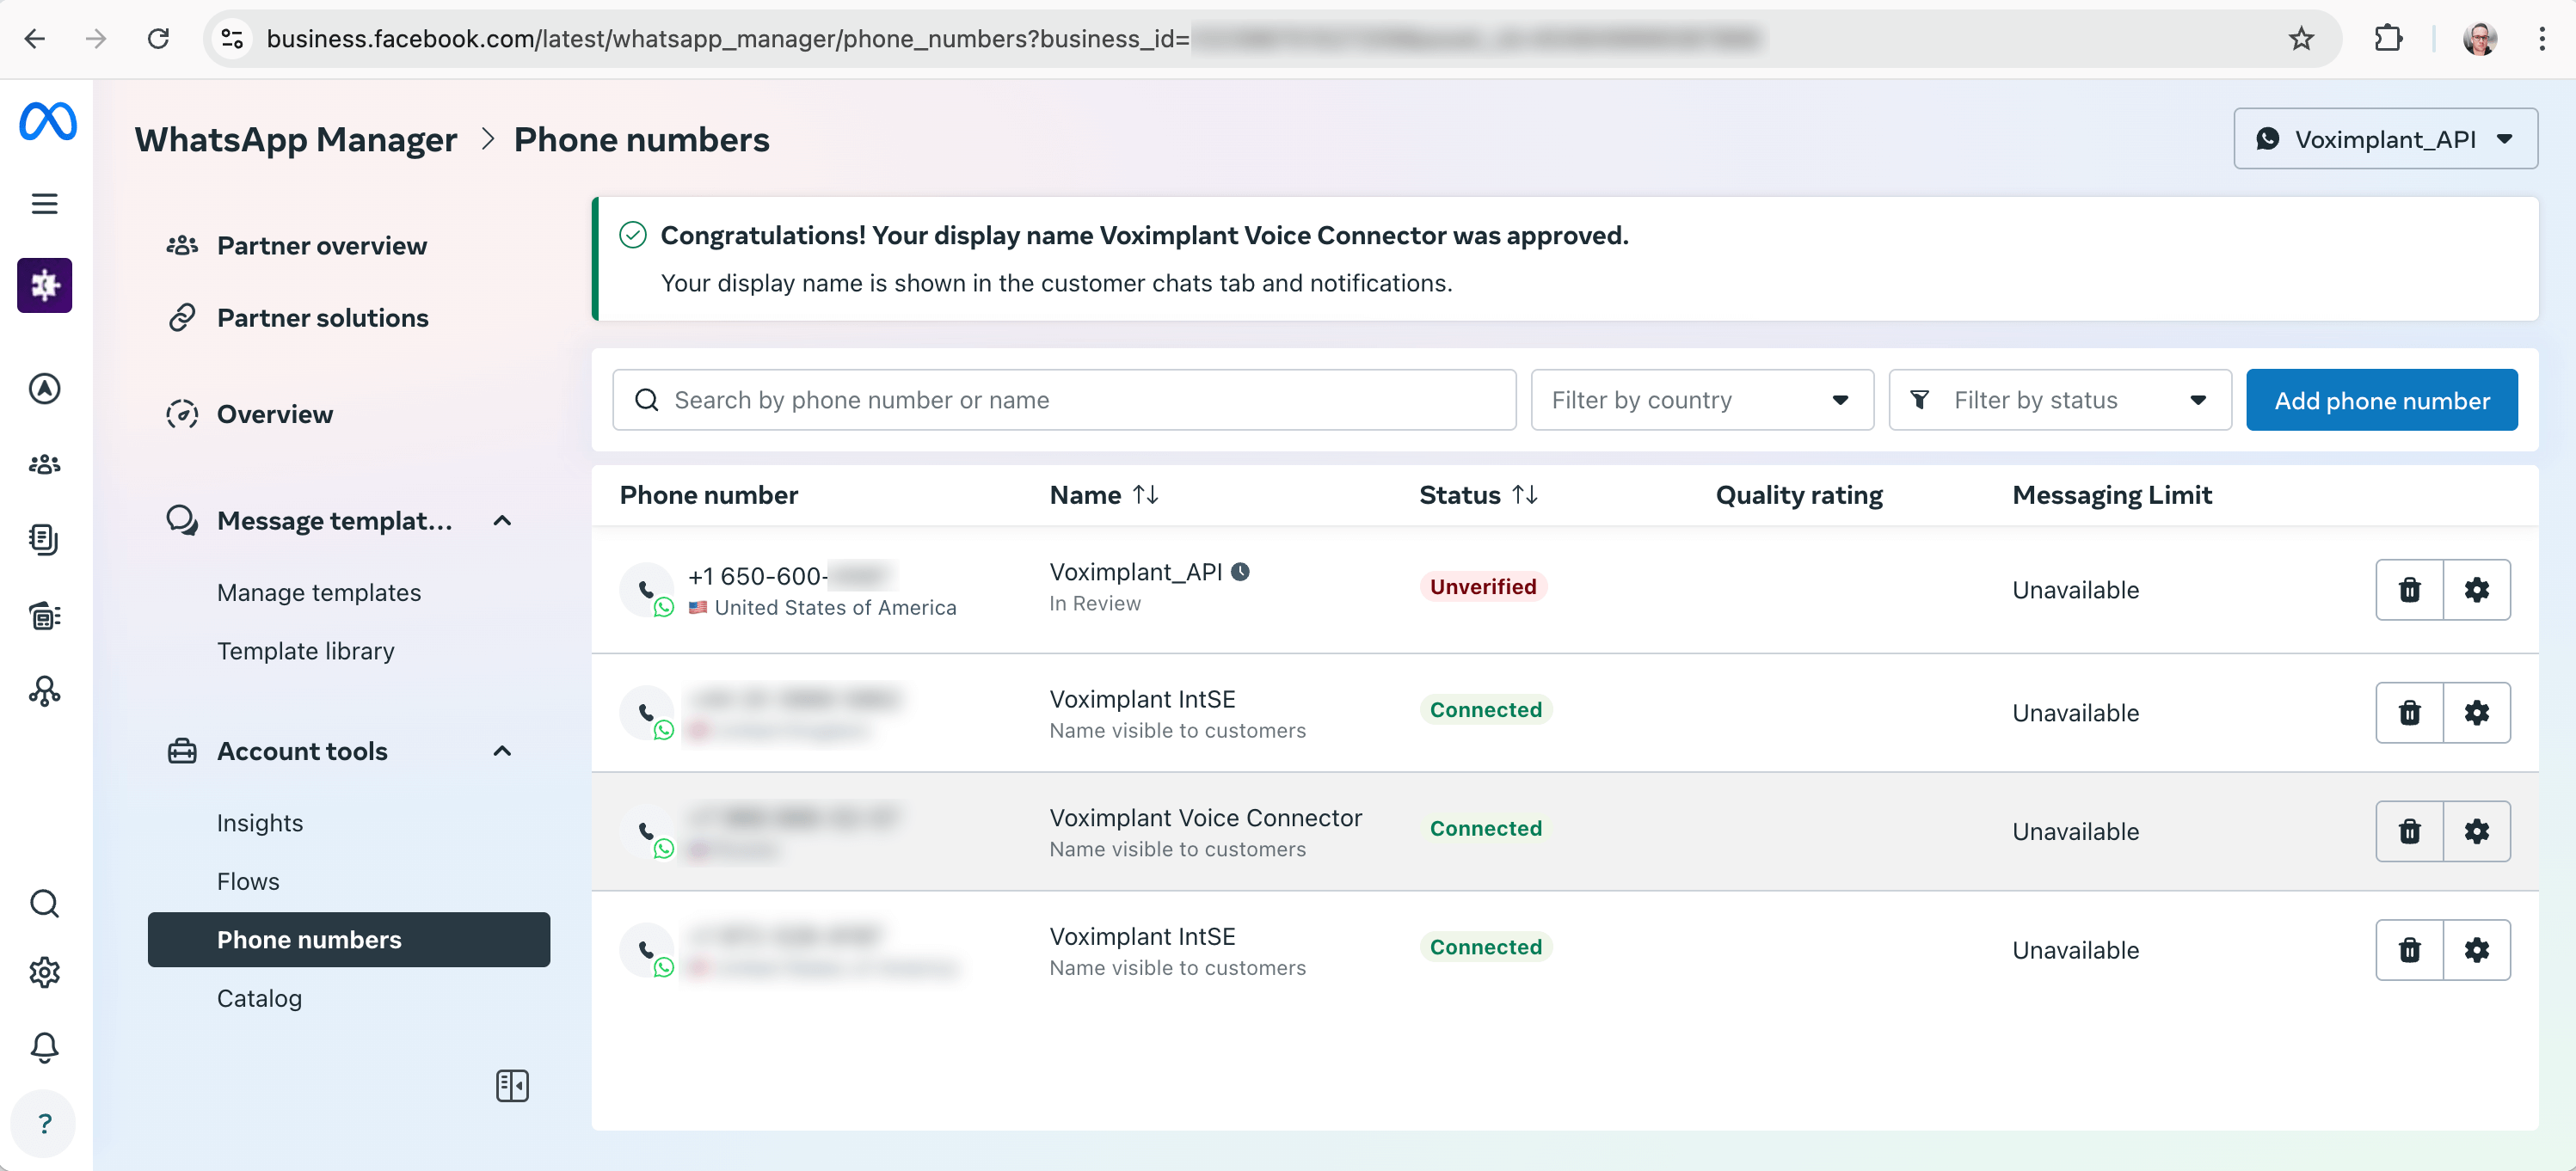
Verification process
Verification consists of 2 steps:
Step 1. Receive the verification code to your phone number via an SMS or a call.
Write down the verification code somewhere since it is required for the Step 2.
- Click the Send verification code link in the Profile tab:
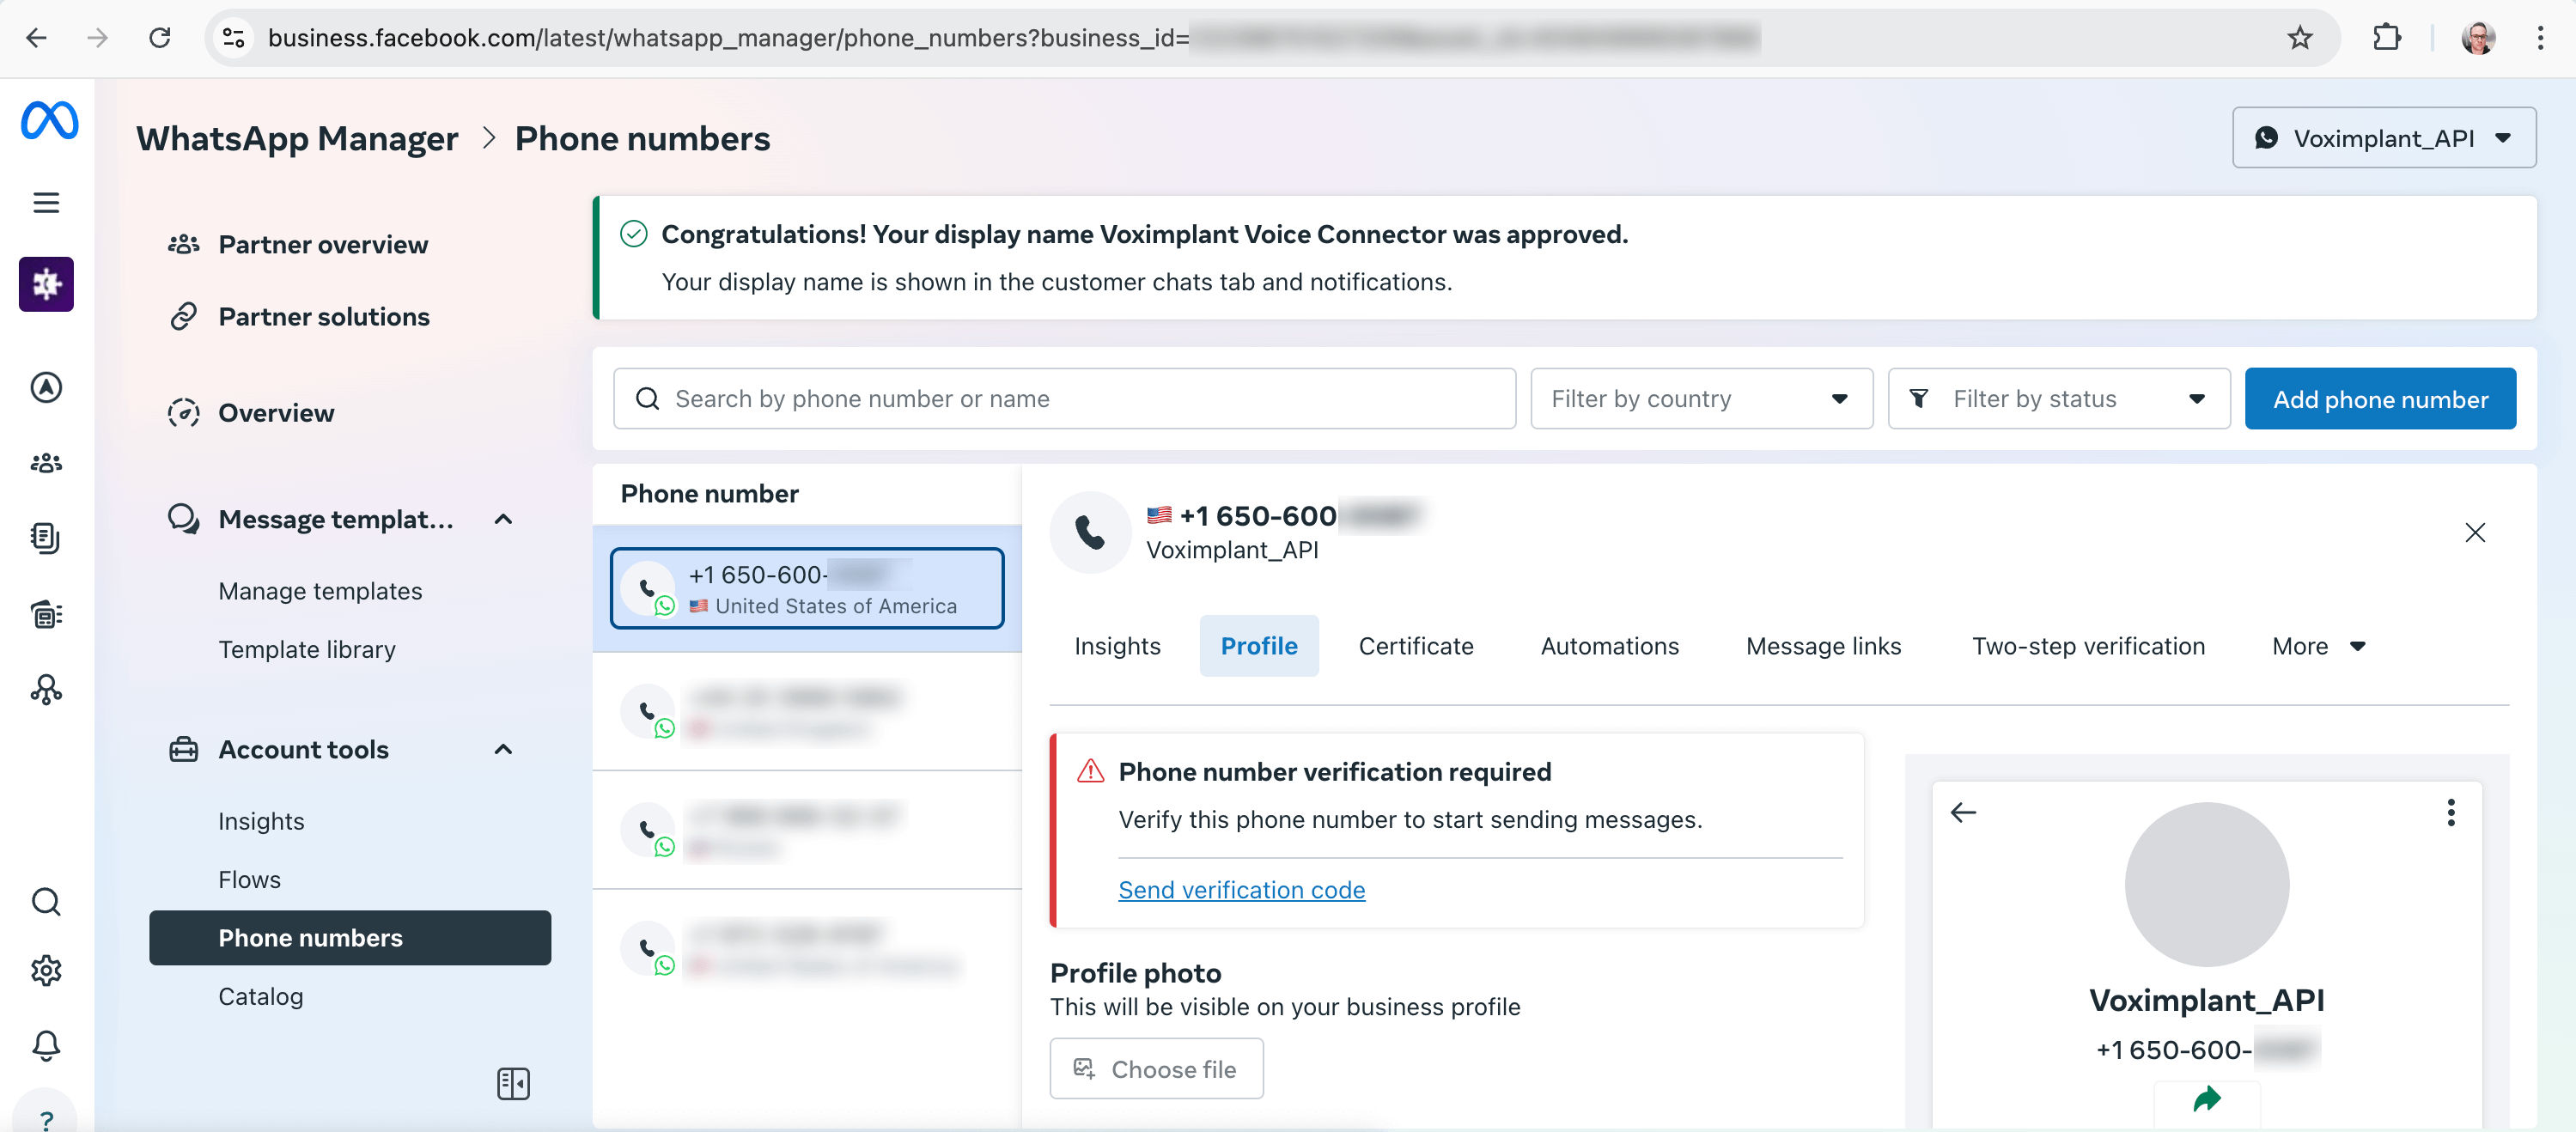
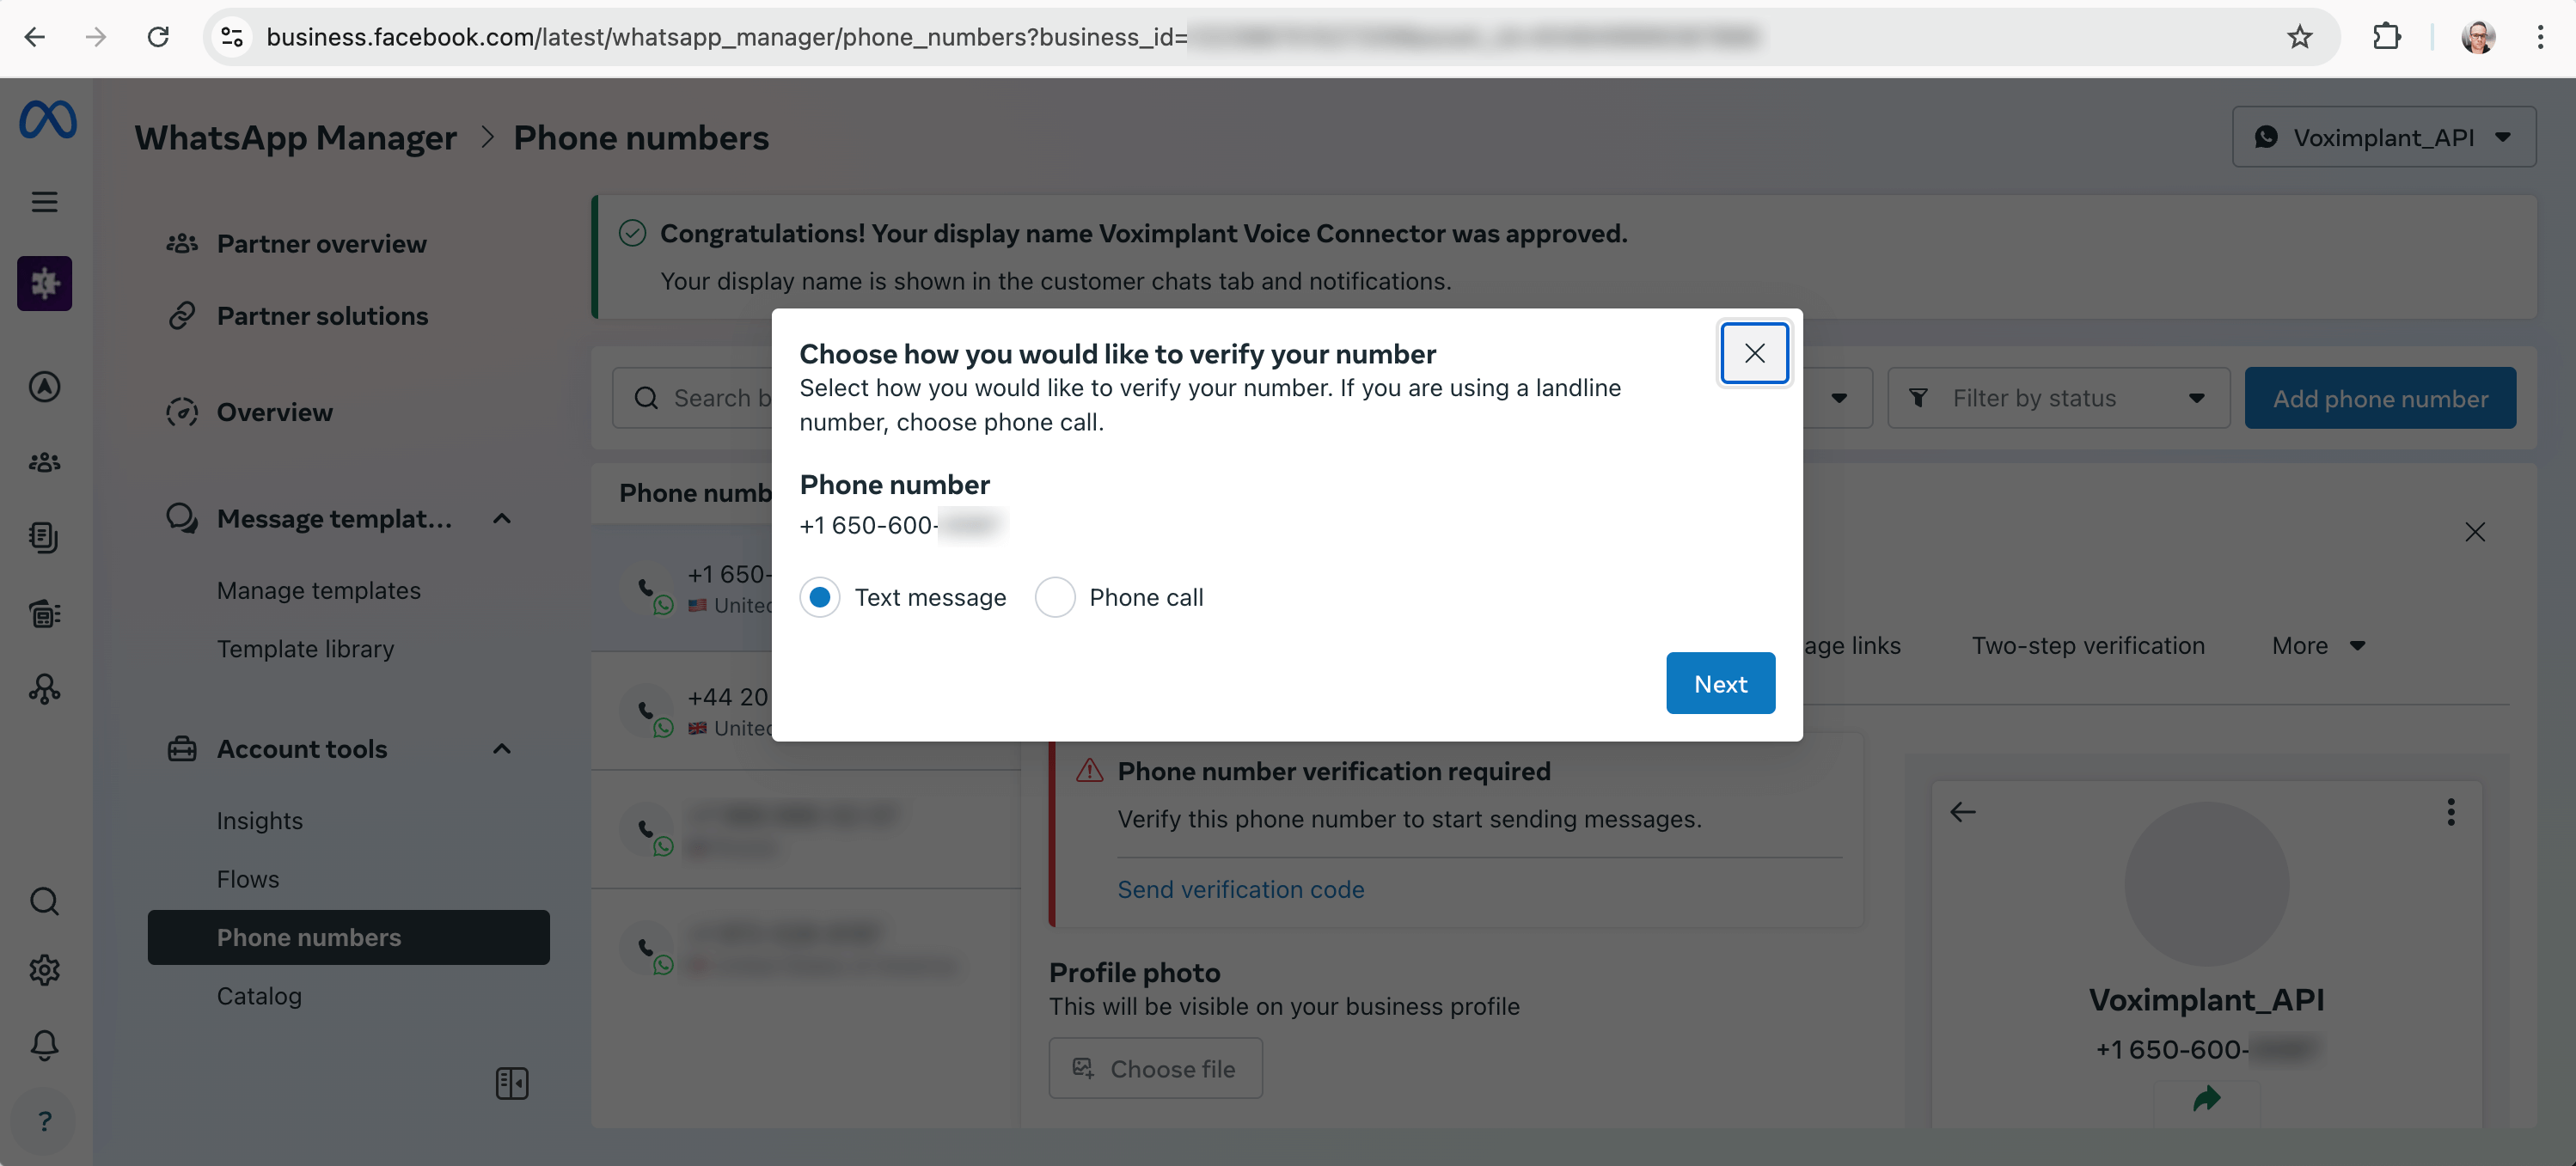
- Choose the way to receive the code (SMS or phone call):
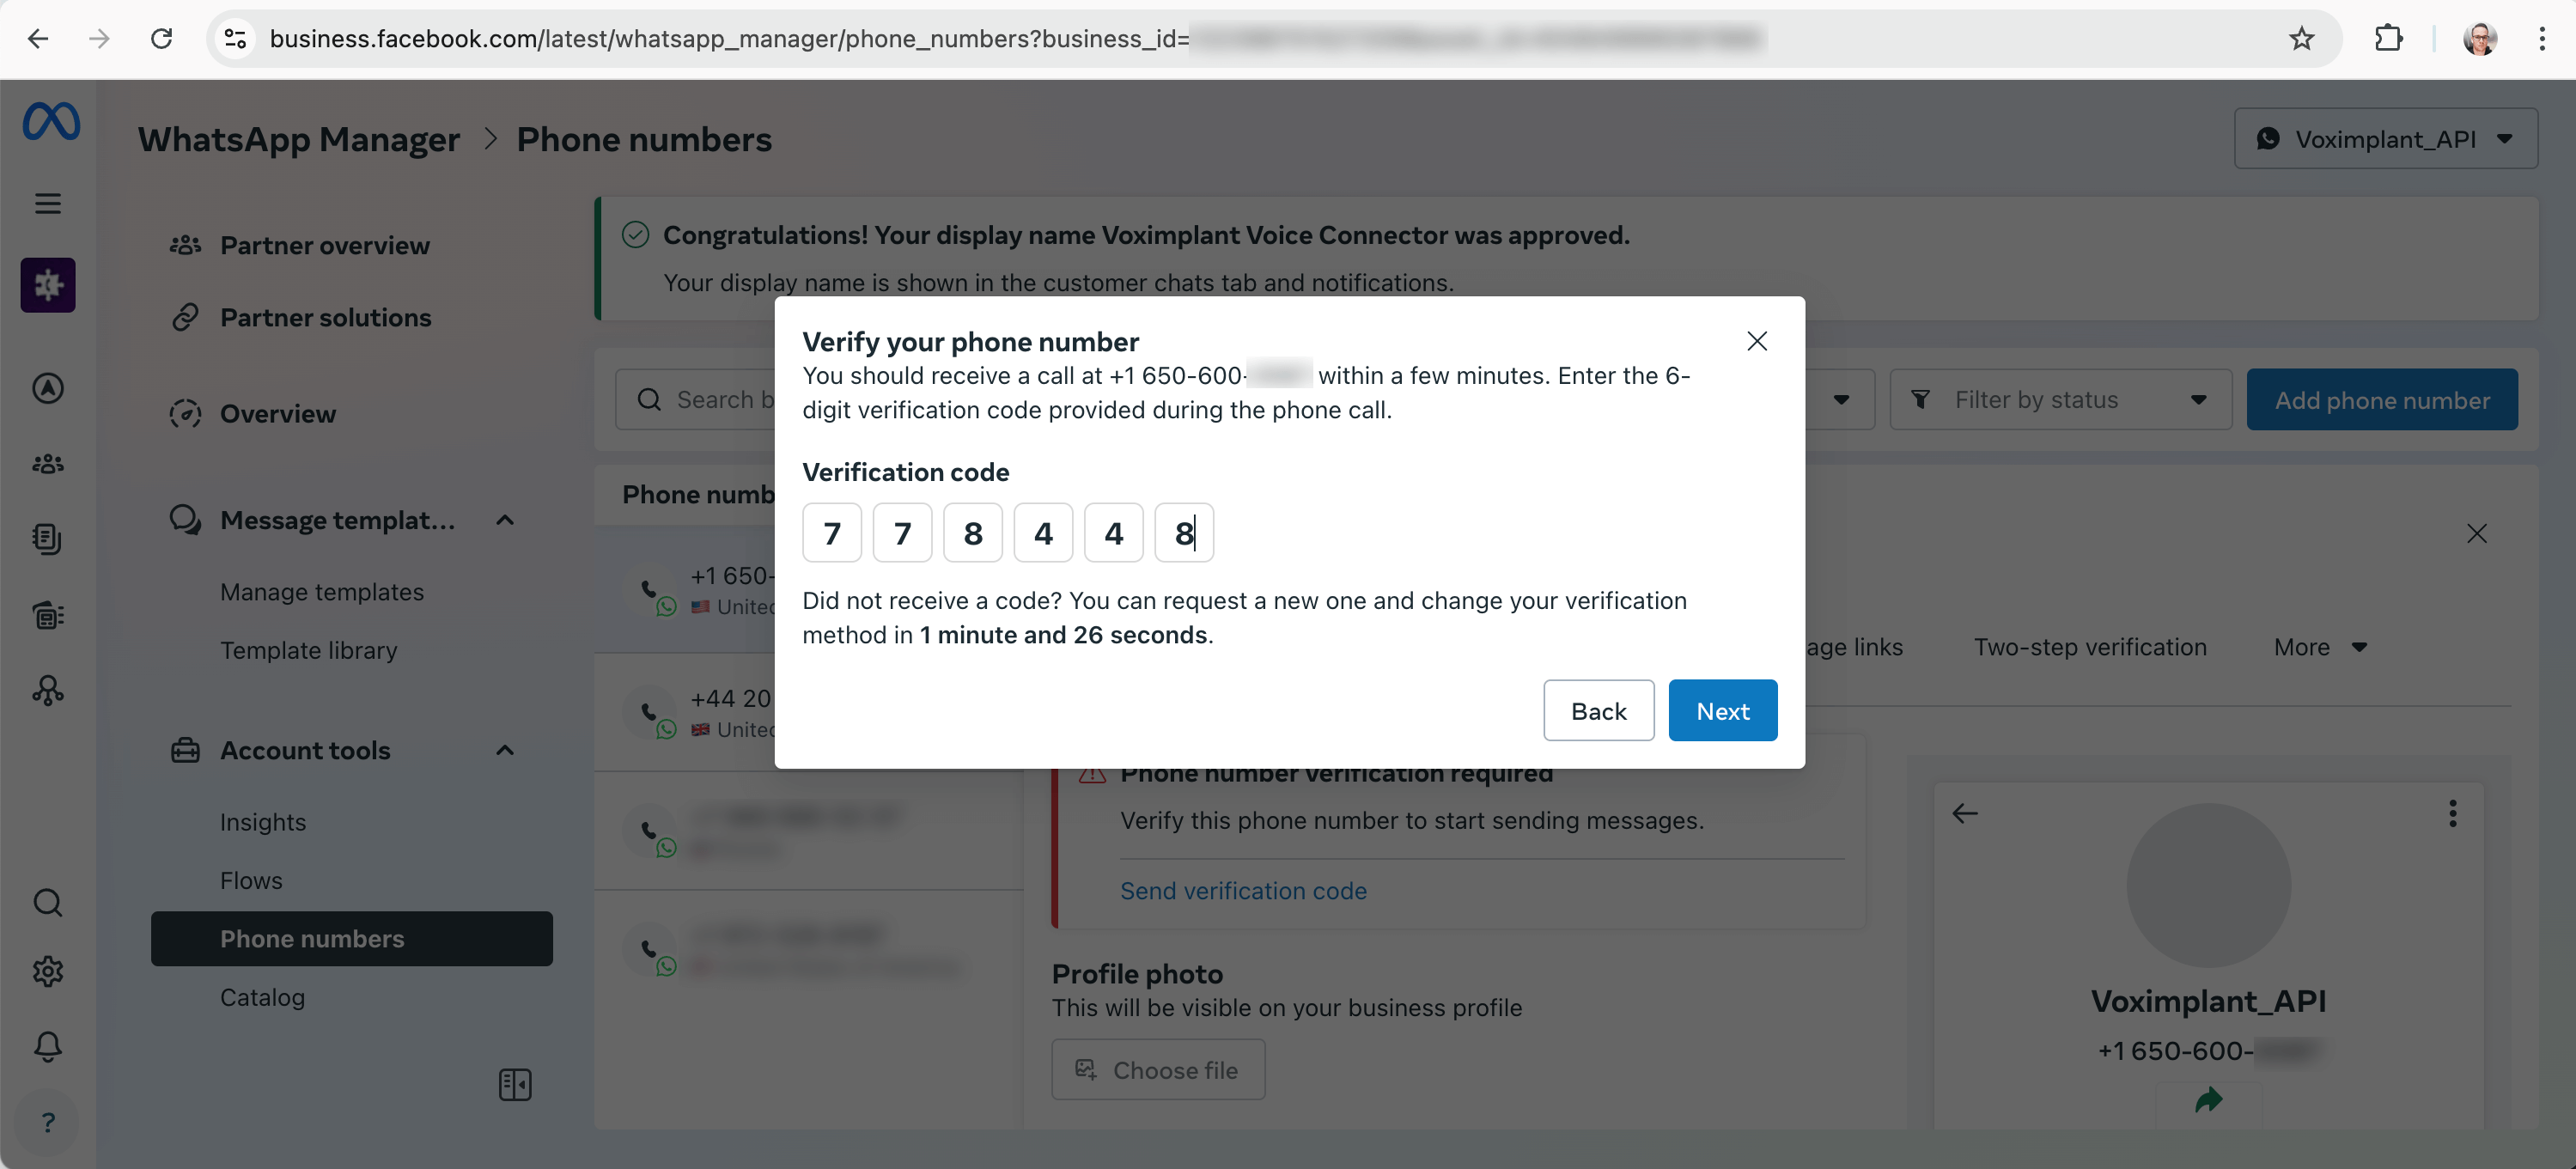
- Enter the code (do not forget to save the code for the next verification step!):
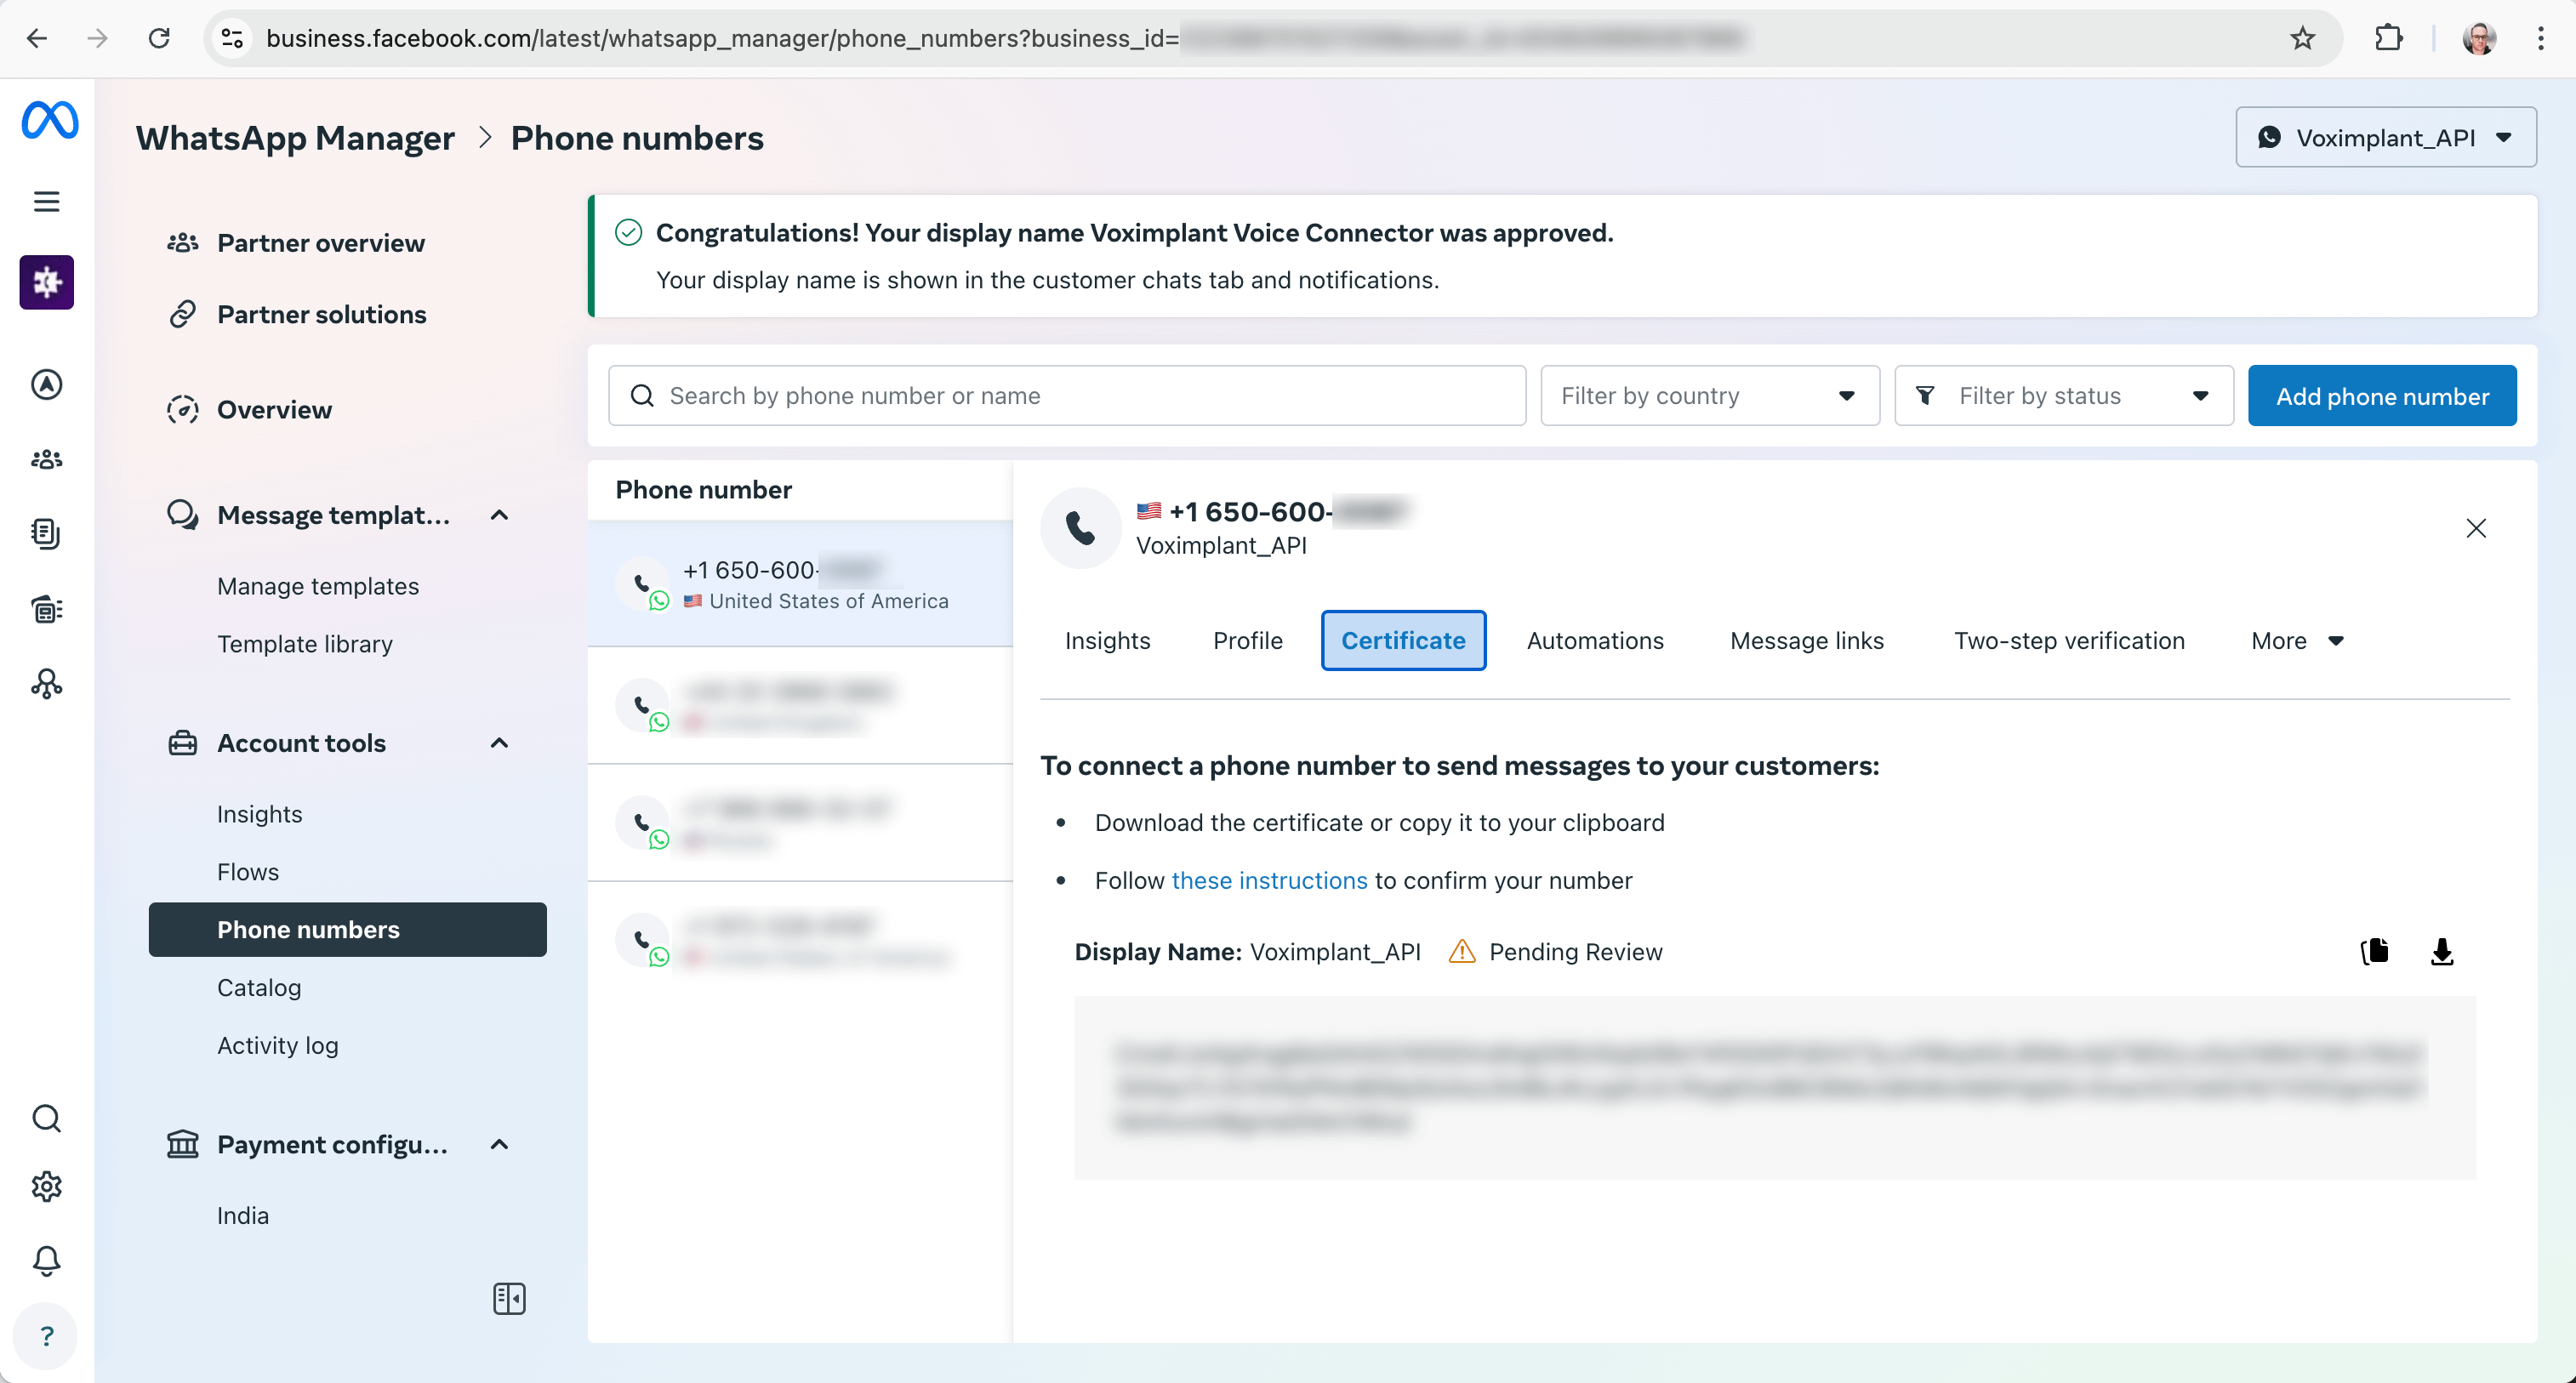
- Then, click on the Certificate tab. In the Display Name field you can see the Pending Review status:
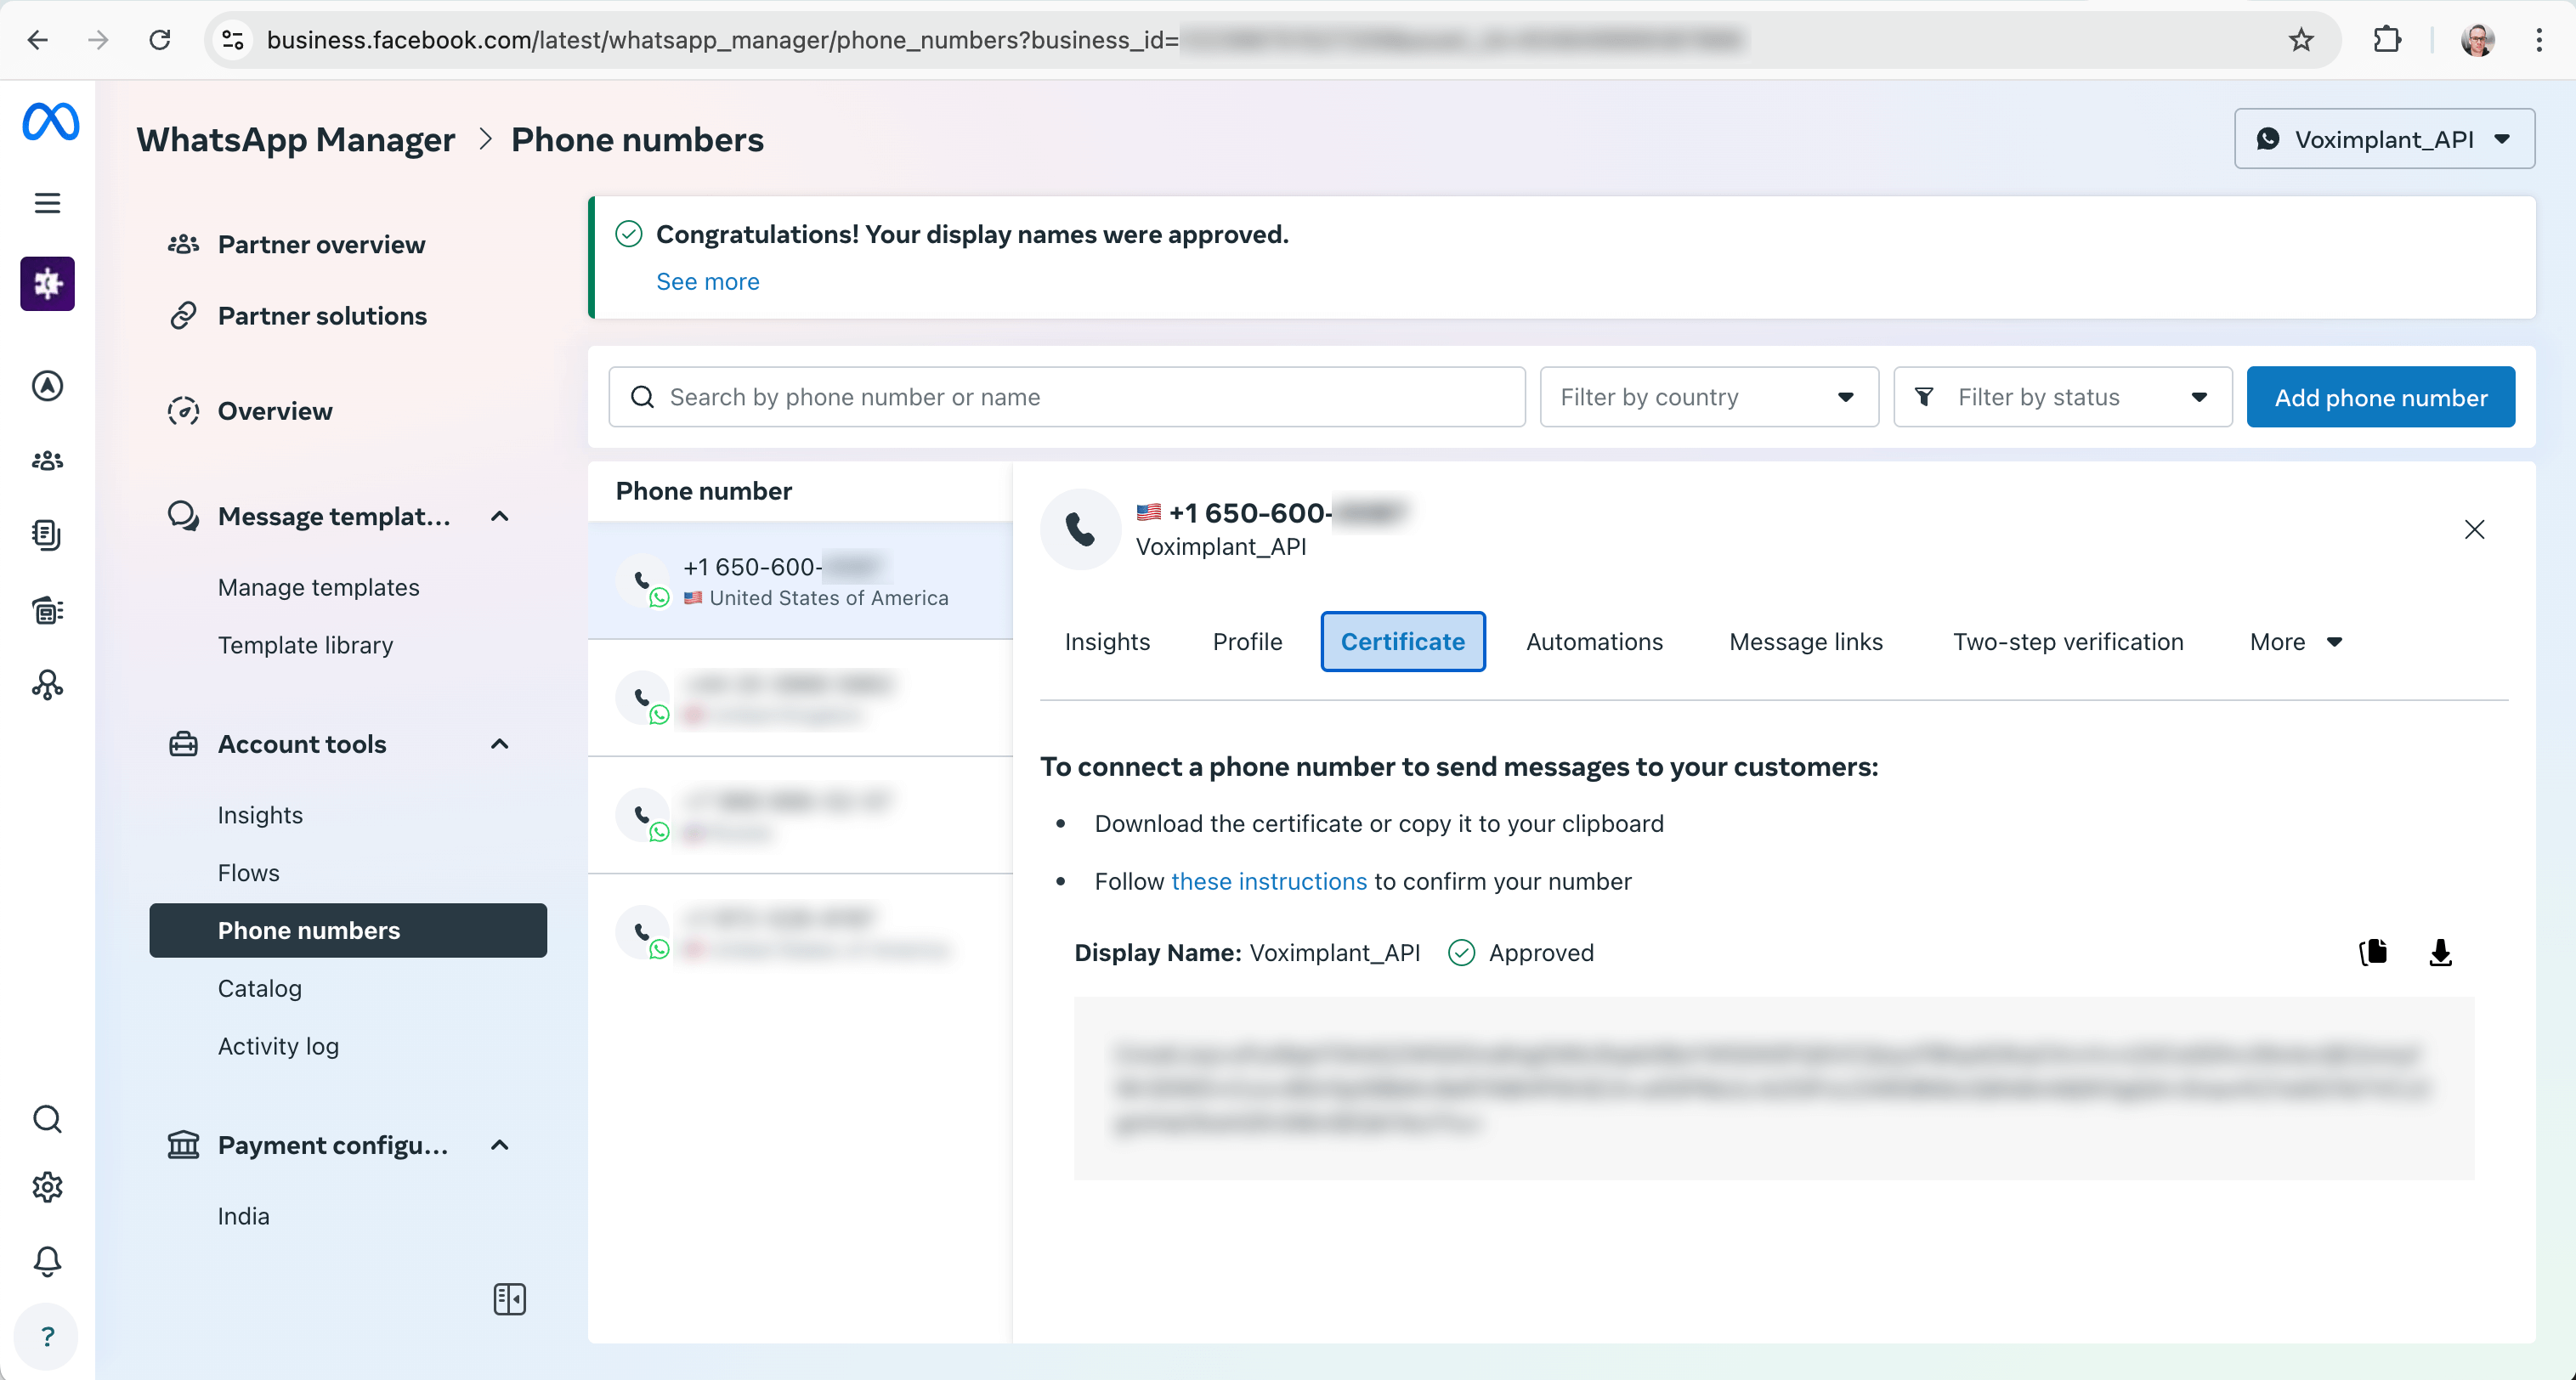
Step 2. When the status in the Display Name field becomes Approved, you can finally register your phone number o be used with the Cloud API:
It is required to make a few API requests to the Cloud API to proceed. The first request is to get the phone number ID:
curl -X GET "https://graph.facebook.com/v23.0/<YOUR_WA_ACCOUNT_ID>/phone_numbers?access_token=<ACCESS_TOKEN>"
You can get your access token via the Graph API Explorer and your WhatsApp account ID.
The answer looks as follows:
{"data":[{"verified_name":"YOUR_DISPLAY_NAME","code_verification_status":"VERIFIED","display_phone_number":"YOUR_PHONE_NUMBER","quality_rating":"UNKNOWN","platform_type":"NOT_APPLICABLE","throughput":{"level":"NOT_APPLICABLE"},"webhook_configuration":{"application":"..."},"id":"YOUR_PHONE_NUMBER_ID"}],"paging":{"cursors":{"before":"...","after":"..."}}}
For the second API request, you need the phone number ID:
curl -X POST \
  'https://graph.facebook.com/v23.0/<YOUR_PHONE_NUMBER_ID>/register' \
  -H 'Authorization: Bearer <ACCESS_TOKEN>' \
  -H 'Content-Type: application/json' \
  -d '{ "messaging_product": "whatsapp", "certificate": "<YOUR_CERITICATE>", pin: "<YOUR_VERIFICATION_CODE>" }'
Substitute YOUR_CERTIFICATE with the data from the Cerificate tab, and YOUR_VERIFICATION_CODE with the code that you received in via SMS or phone call in the Step 1.
If everything has been done correctly the results is the following:
{"success":true}
Then, refresh the phone numbers page and your phone number should now be marked as Connected.
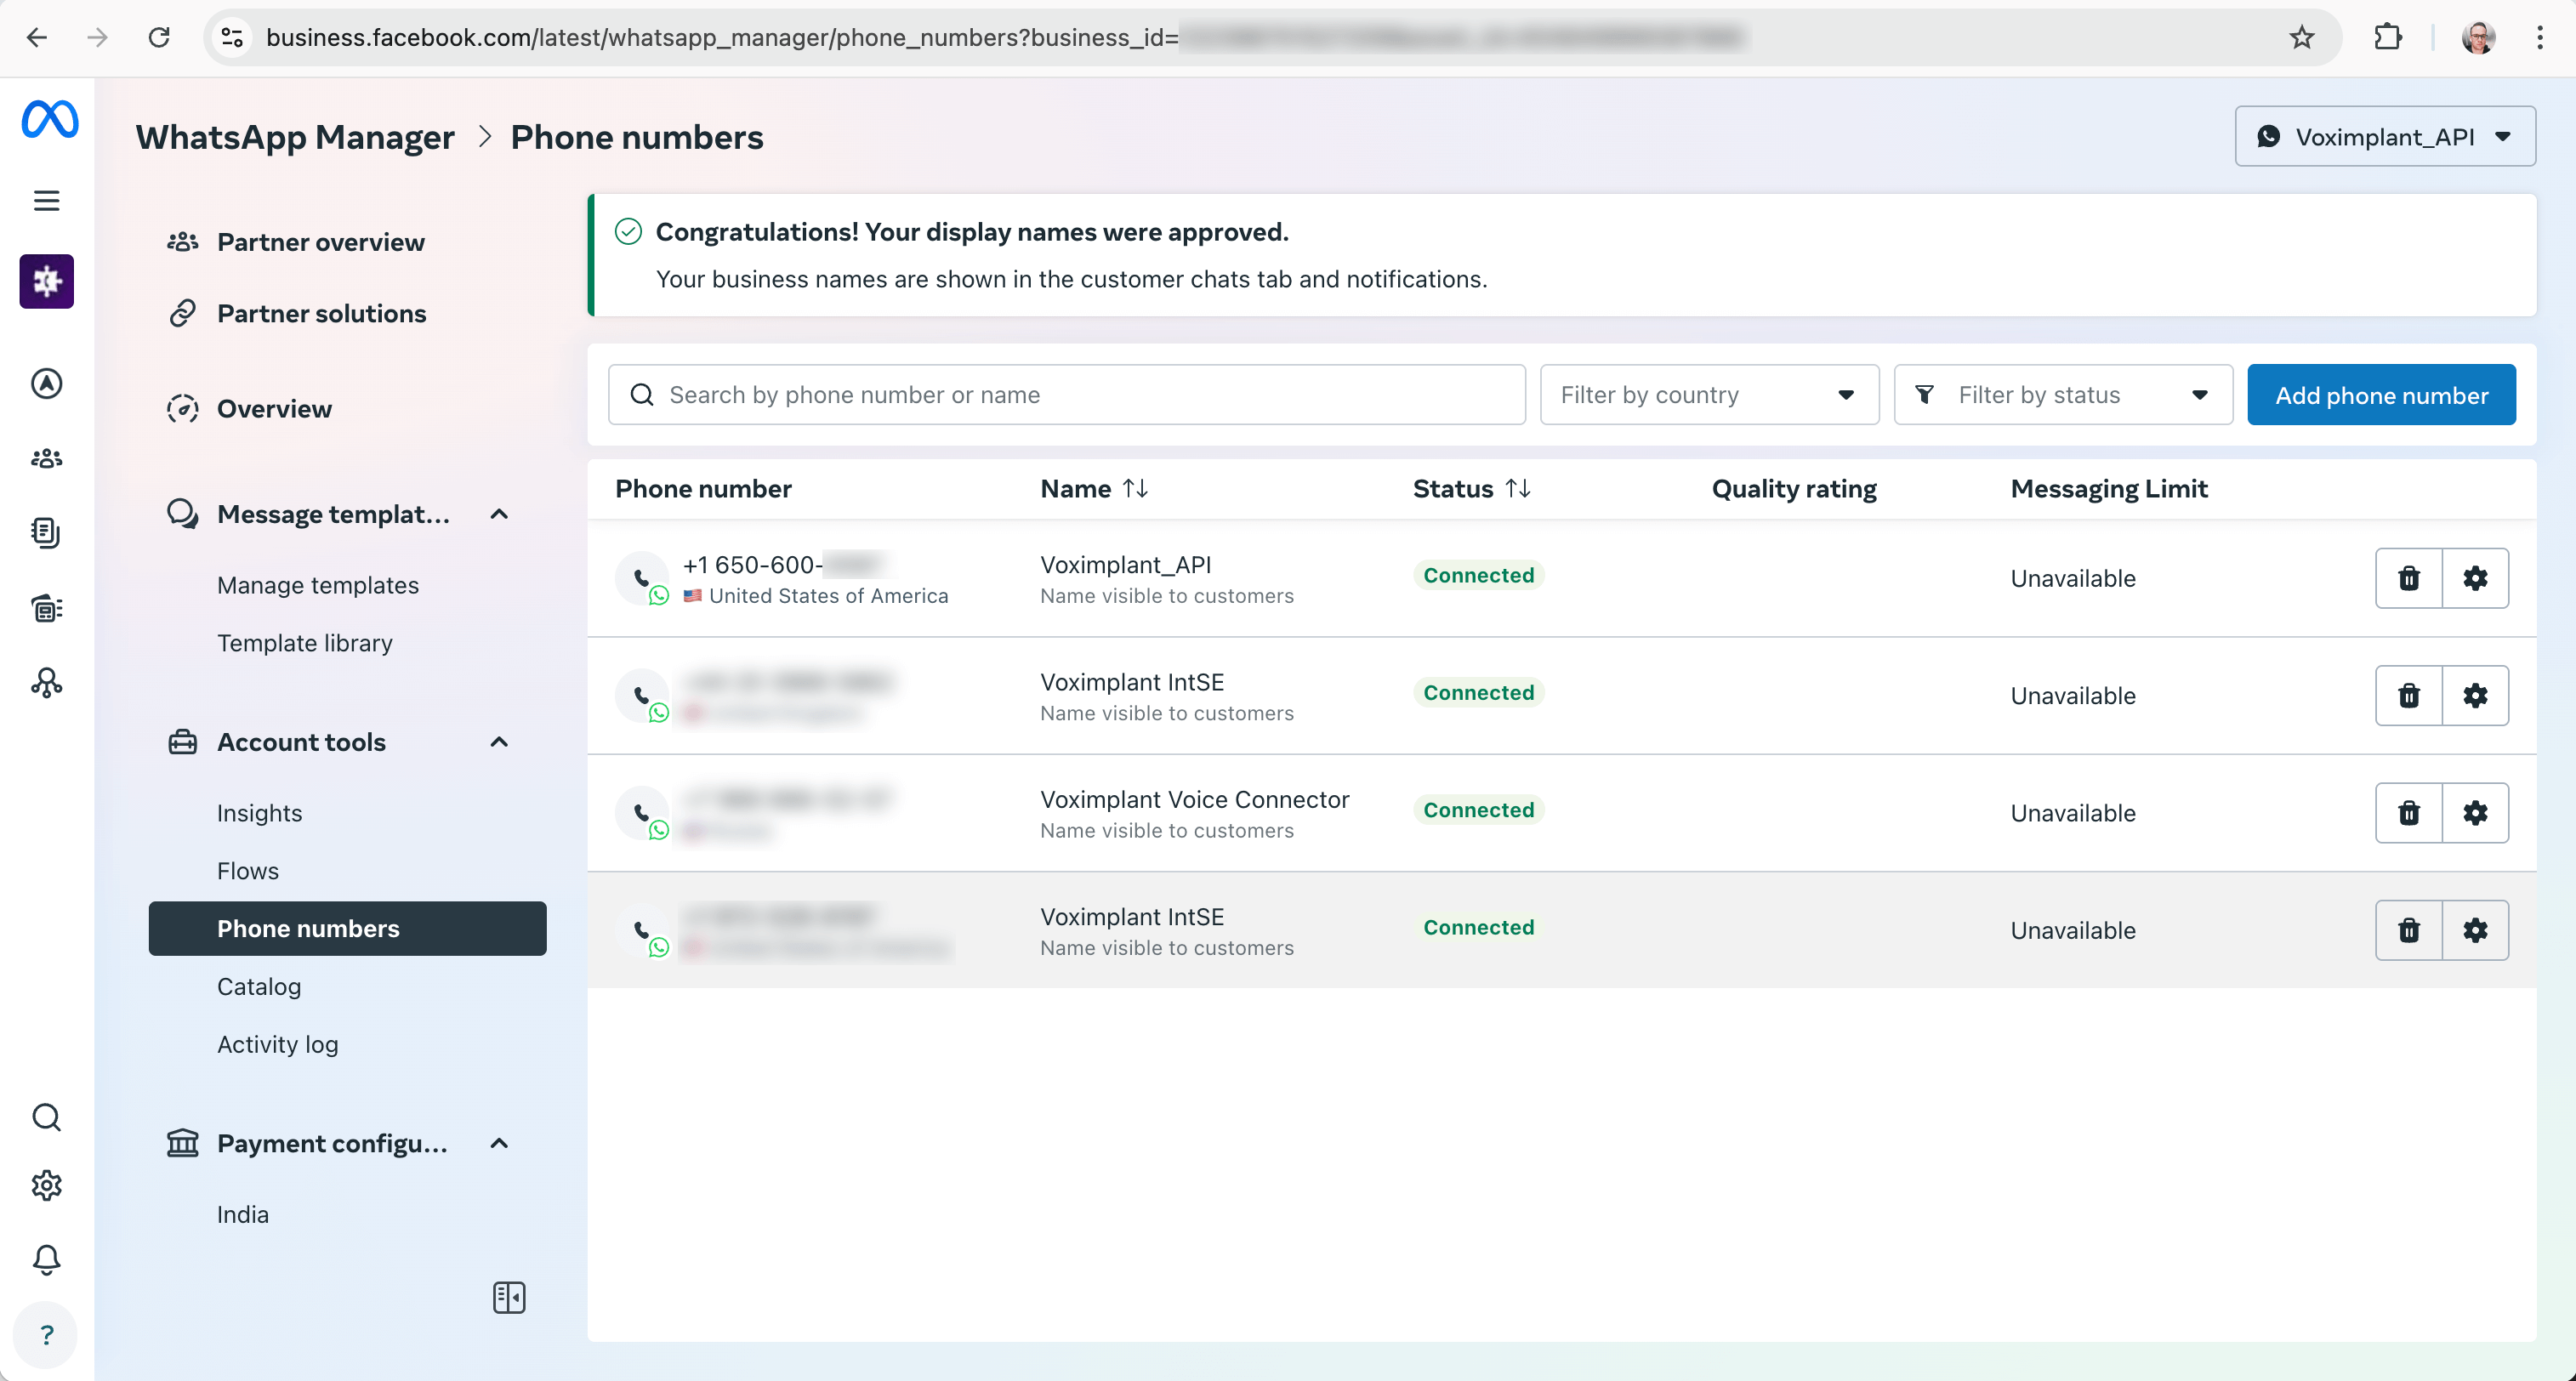
Now the phone number is ready to be used with WhatsApp Business APIs including WhatsApp Business Calling API.
Voximplant side
- Create a Voximplant application or use an existing one.
- Create a scenario for processing calls. For example, you can use a scenario with a text-to-speech voice to say that you are calling a WhatsApp phone number:
- Create a routing rule to process the call. You can leave the default mask
.*to process all calls by the attached scenario. - In your control panel open the Settings → WhatsApp phone numbers section and click the Add a WhatsApp phone number button.
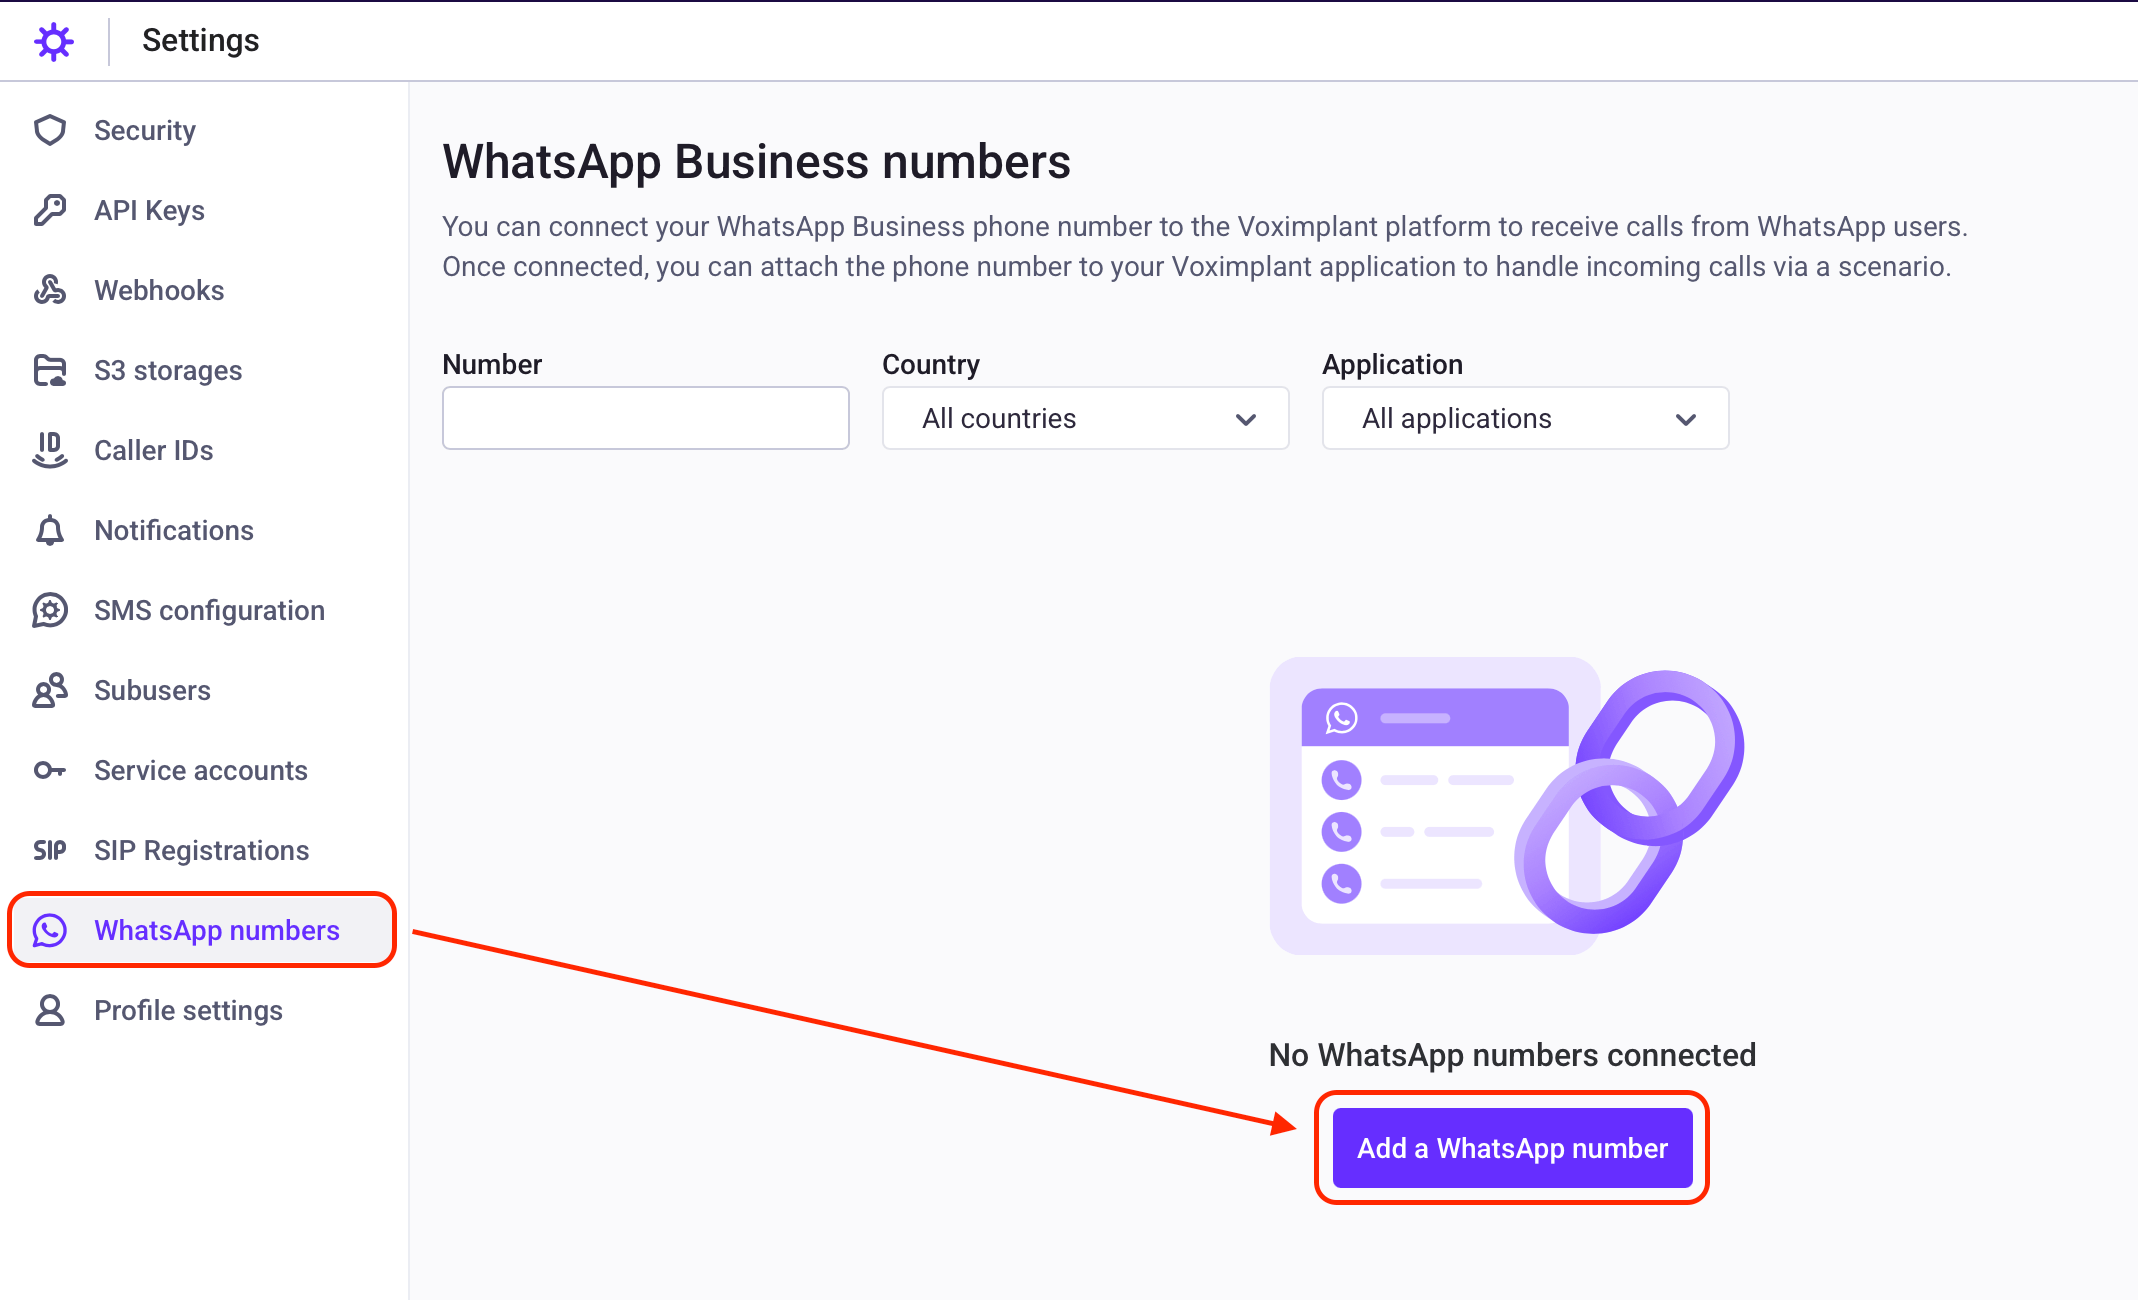
- Follow the instructions that appear on the screen. During the phone number connection, you need to execute two API requests to the Meta Graph API.
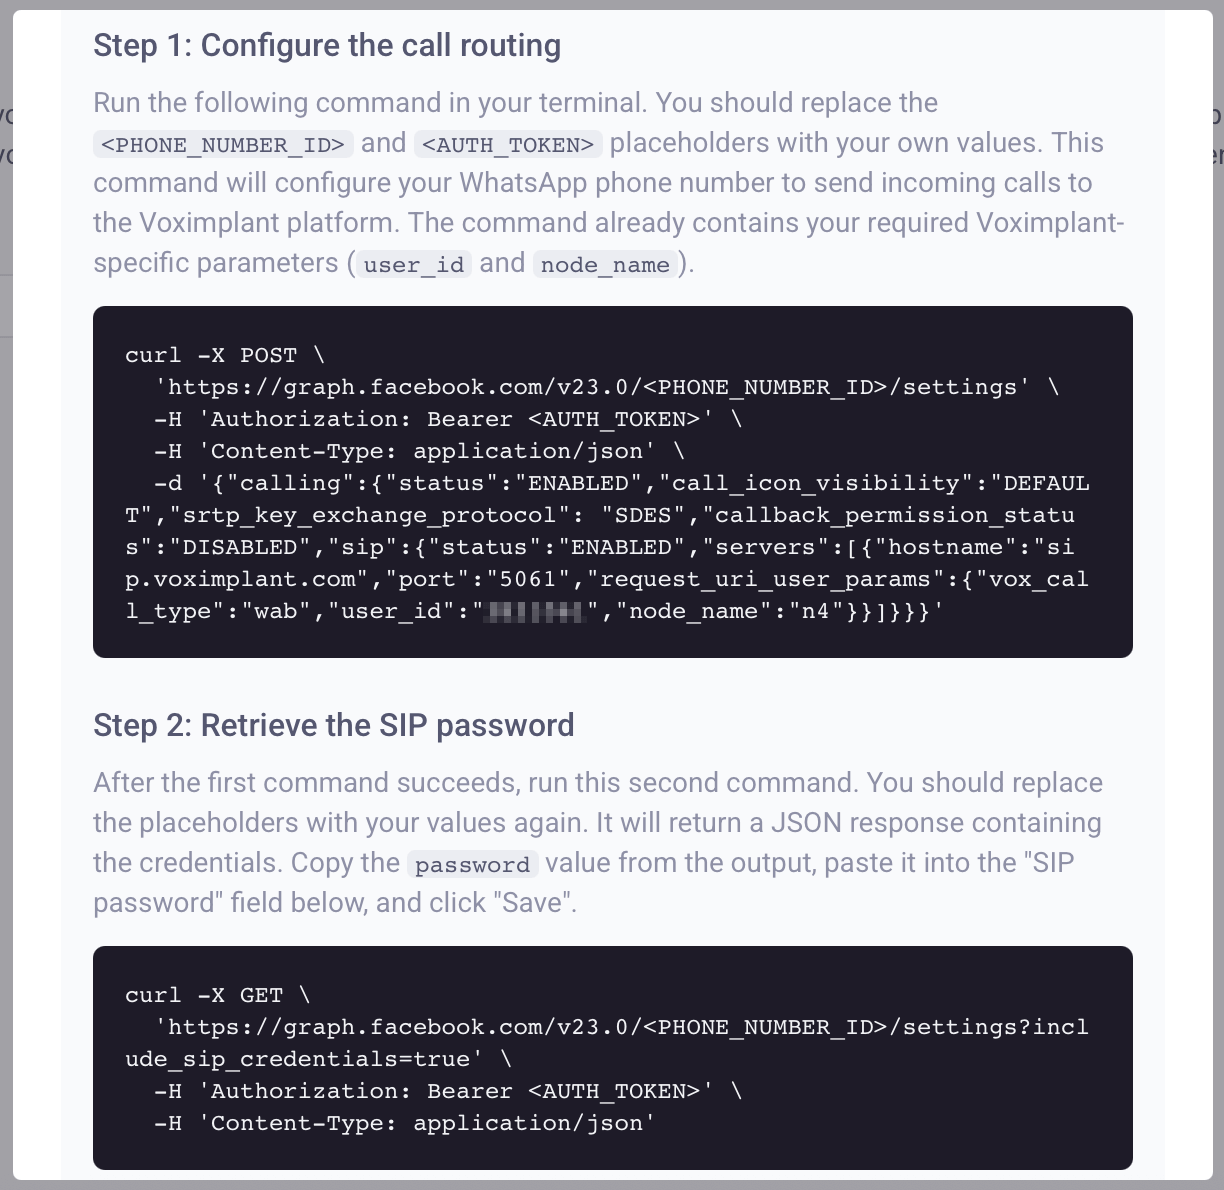
Enter your WhatsApp phone number and SIP password that you receive from the API request in the fields below and click Save.
Open your application and choose the WhatsApp numbers section from the menu on the left. Add an available WhatsApp phone number to attach it to your application.
After you attach your WhatsApp phone number, you can start receiving calls.
